
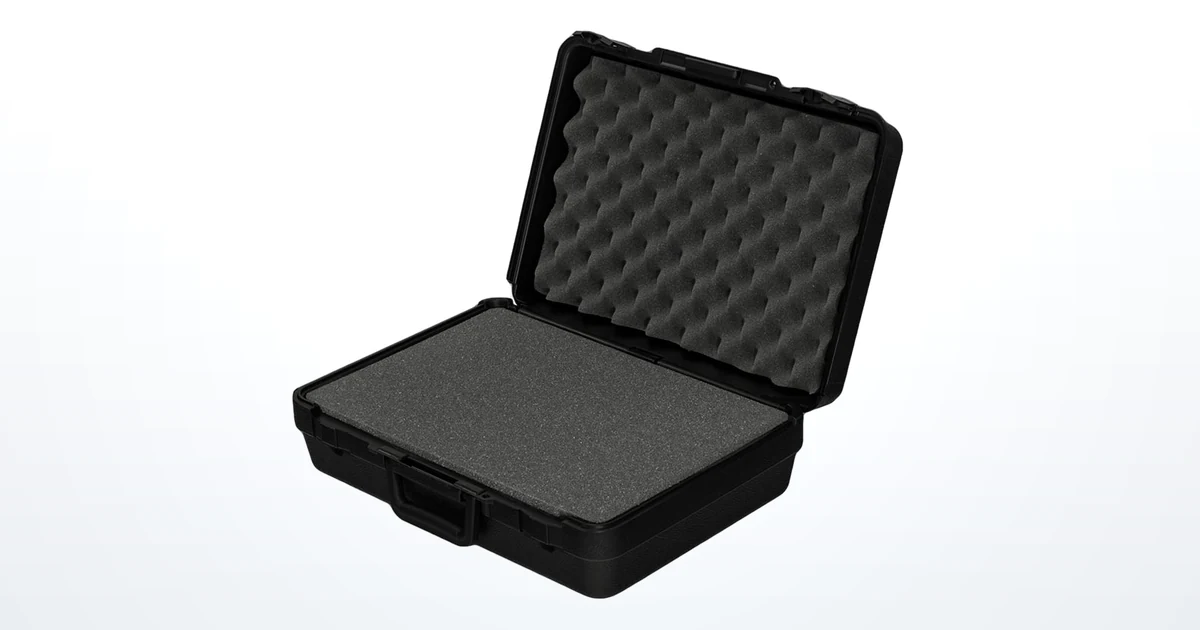
Almost every case that comes back for a change comes back for the same reason: something was measured, but not everything was. Twenty minutes with a tape measure at the start is the cheapest insurance in this whole process.
Measure the kit, not the hero item
Start by laying out everything that has to travel in the case — not just the instrument, but the leads, the charger, the probes, the adapters, the spare batteries, the calibration certificate and the manual. The accessories are what push a case up a size, and they are almost always remembered after the shell has been chosen.
Lay the whole kit out on a table in roughly the arrangement you want inside the case. Photograph it from directly above. That photo alone tells a case supplier more than a page of dimensions.
Take three dimensions, at the widest point
- Length and width at the widest points, including anything that sticks out — handles, knobs, connectors, hose barbs, feet.
- Height of the tallest item in the orientation it will sit in. If it can lie flat, measure it flat.
- Anything that will not lie down. Tripods, coiled hose, antennas and gooseneck fittings drive depth more than anything else. Measure them separately and note whether they can be disassembled.
Note the weight too. A 4 lb kit and a 40 lb kit in the same footprint are different cases — weight affects the foam density, the latch specification and whether the case needs wheels.
Allow for the foam
This is the step people skip. The case is not sized to your product; it is sized to your product plus a wall of foam on every side, including above and below. How much foam depends on how heavy and how fragile the contents are and on the foam type — there is no single number, which is exactly why it is worth asking rather than guessing. Our guide to choosing custom foam inserts explains how density and material change the answer.
The practical version: measure your kit accurately, then let us work backwards from it to a case size. Do not add a guess for foam and then shop by that number.
Inside versus outside dimensions — read the chart carefully
Our four families quote dimensions differently, and this is the single most common source of confusion:
- Blow Molded Classic. Charts list outside dimensions. For approximate inside dimensions, subtract 1″ from the length and width, and 3/8″ from the depth. Handles are featured on all cases 3″ deep or greater. The Premier line charts list inside dimensions.
- Thermoformed. Charts list outside dimensions. For inside length and width, subtract 5/8″; for the inside lid dimension, subtract 1/4″. Depth is available to order in any increment from roughly 3″ up to each model’s maximum.
- Heavy Duty Watertight. All listed dimensions are inside dimensions, and lip depth and body depth are listed separately so you can work out what fits in the base versus the lid.
If you compare an outside dimension on one chart against an inside dimension on another, you will reach the wrong conclusion by around an inch — which is usually enough to matter.
Think about how it opens
A case is used, not just carried. Check that the lid clears the contents when open, that the heaviest item is low and central rather than in the lid, and that whatever you need first is not underneath everything else. If the case gets worked out of rather than unpacked, that layout decision matters more than the dimensions.
What to send us
- A photo of the kit laid out, from above
- Length, width and height of the largest items, and of anything awkward
- Approximate total weight
- How the case travels — vehicle, checked baggage, freight, on foot
- Whether it needs to be sealed against water and dust
Send us your measurements
A phone photo of the kit laid out and a few dimensions is enough. We will come back with a case size and a foam layout that fits it.